EFI Conversion (2.8L)
Notes on converting from the stock Bosch K-Jet CIS fuel injection system to modern electronic fuel injection while retaining the stock intake manifold. This is incomplete, as a hole in the block led me to switch engines entirely, but there is still useful info here.
This article documents the beginnings of my attempt to convert my stock DeLorean engine to EFI. After doing a lot of research and purchasing some parts, I found a hole in engine block, in the valley under the intake manifold. When I later disassembled the bottom of the engine, I found a two inch chunk of aluminum sitting in the oil pan. Because of these problems, I decided to give up on the 2.8L engine and swap to a 3.0L engine. This process is detailed on the blog.
I've decided to keep this page around in case anyone else finds it useful for getting started with a stock engine EFI conversion, as there is some useful information in here.
I've been planning to replace the original Bosch K-Jet CIS on my DeLorean for some time now. A recent bout of in my fuel has made me concerned that other parts of the fuel system may have been affected, so now seems like as good a time as any. I also have a thread on DMCTalk where I asked various questions about the conversion and got a lot of good feedback and assistance.
Plan of Attack
Intake Manifold
The main difference between most DIY EFI conversions centers around which intake manifold is used. The DeLorean's stock intake manifold is not ideal for this, but is by far the easiest to get -- the Renault Z7U and Peugeot intake manifolds that others have used are very hard to find, and fairly expensive ($800 or so) if you can.
ECU
For the ECU I'm doing what everyone else has, and using MegaSquirt. Specifically, I've opted for MegaSquirt III with the 3.57 PCB, although II would work just fine as well. The main advantage of III are the integrated USB/serial adaptor, SD slot for data logging, and the extra inputs and outputs for future expansion. However, there are also a lot of features that I won't make use of, and it is $200 more than the II.
There is an issue with using 3.57 (either II or III) for spark in the DeLorean that has come up in various forum threads. I emailed Matt Cramer at DIYAutotune and he explained how to fix the issue:
I simply wired a 10K resistor inline with the distributor pick-up. Happens on certain VR sensors, but DeLoreans are the only one I've seen have that with a distributor; it's usually been high tooth count crank wheels.
Apparently this isn't a problem with the 3.0 PCB, but a 10K resistor on the VR wire is a pretty easy addition to filter the noise for 3.57, so I'm going with that.
Fuel Rails and Mounting Brackets
I had been considering making my own rails and brackets, but Owen [aka Spittybug] on DMCTalk has a "kit" (for lack of a better word) that I decide to go with instead. This includes the pre-drilled fuel rails, mounting brackets, and a box for the new idle air motor -- meaning, all the hard bits that need to be fabricated. Everything else I'll need to procure myself, but that's just a matter of buying what I need -- and Owen has a list for that, too.
Idle Air Motor
I had considered keeping the stock idle motor, until I realized that the fuel rails would block the brass pipe that feeds into the bottom of the mixture control unit. Reports are that a US quarter coin perfectly blocks that hole. Owen's "kit" includes a box to mount the motor on the 'W' pipe and the GM-style motor itself, but I still need to get a connector to wire it into the harness.
Injectors
This took me the most time find, mostly because stores tend to sell injectors based on the engine or vehicle they fit in, and don't necessarily advertise all of the necessary information. There are a few criteria to consider:
Flow Rate: The MegaSquirt fuel injector calculator (as well as other DeLorean owners who have done the conversion) suggest 19 lb/hour (200 cc/min) injectors.
Impedance: Injectors are high or low impedance. High impedance injectors supporting a full 12v but open and close more slowly. Low impedance injectors react faster, but require a resistor or PWM voltage and flyback circuit control from MegaSquirt. Opening speed is probably not much of an issue for my application. Others (spittybug, openthemike) who have done conversions strongly suggest I get high impedance injectors, as they had problems getting low impedance injectors to operate reliably.
Dimensions: Since the DeLorean's fuel injectors are inline with the spark plugs, it's best to get the tallest injectors you can find so that you can access the the plugs without removing the fuel rails. Of course, finding this information on an online store site is difficult, as they usually list them by the car's make and model with the assumption that you're replacing existing injectors.
Connectors: Once you know what kind of injectors you're getting, you need to get pigtails/connectors to hook them into the MegaSquirt wiring harness. Luckily these are well documented, common, and easy to find from various sources.
Owen suggested I try a Google image search for fuel injectors and just pick out the ones that looked long. This worked pretty well, and led me to EV1 style injectors, which are available in 19 lb/hr flow rates and stand about three inches (74 mm) tall. Since these are commonly used on Mustangs and other V8 engines, they tend to come in packs of eight, and range from $200-$300 depending on the supplier and brand (I found four in my searches). EV6 injectors are also available; they're newer and slimmer and a similar height, but they seem to start at 24 lbs/hr, which is too much for the DeLorean's engine. EV1 and EV6 injectors are considered "long" injectors, so I figure that's about as good as I'm going to find. There are other injector bodies, such they seem to be shorter -- EV14, for example, is considered "medium" length at around two inches,
Connectors come in a few different flavors, with the common ones here being Jetronic/Minitimer on the EV1 and some EV6 injectors, and USCAR on the EV6, EV14 (which is shorter than the EV1 and EV6). and other injectors. Pigtails/connectors for wiring into the MegaSquirt harness are pretty easy to find.


Throttle Position Sensor
I've been considering a Throttle Position Sensor for my conversion, rather than just using MAP to infer the throttle position. While MAP has been reported to work fine in many cases, it's been suggested that a TPS might be better with the SPEC-I exhaust and aggressive cams that I have. That said, for simplicity I'm going to just use MAP for now, but if I do add a TPS in the future I'll likely mount it near the gas pedal instead of on the throttle spool.
Spark Control
I'm going to start with just fuel for now, and leave the ignition system intact. I'd like to switch spark over to the MegaSquirt in the future, though.
Fuel Filter Placement
I may consider doing what Owen did and move the fuel filter for easier access.
Parts List
- MegaSquirt III 3.57 with MS3X. MegaSquirt II is probably sufficient and is certainly less expensive, but the convenience of a builtin USB/serial adaptor, SD slot for data logging and extra inputs and outputs for custom additions was enough for me to go with the III.
- 12' MegaSquirt wiring harness. The 8' is probably long enough, but it's easier to remove wire than it is to add it.
- MegaSquirt Stimulator for bench-testing and simulating for my planned computer interface.
- Owen's "kit", including drilled fuel rails, mounting brackets and idle air motor and mount.
- Innovate LC-2 wideband oxygen sensor with controller. While my SPEC-1 exhaust can support two, I'm going to only do one for now to keep costs down a little. The older LC-1 would also work and is less expensive, but I decided to spring for the newer model.
- Connector for the GM idle air motor that Owen's kit came with, so that it can be wired up to the MegaSquirt hardware.
- Two GM temperature sensors, one for coolant temperature (CLT) and one for idle air temperature (IAT). The IAT sensor is mounted on the air box, while the CLT sensor replaces either the thermotime switch on the driver's side of the water pump (although the existing adaptor needs to be re-tapped to 3/8" NTP), or the LAMBDA switch on the 'Y' pipe under the intake manifold (which is already tapped to 3/8" NTP); I'll likely do the latter.
- 19 lbs/hour 48 mm tall fuel injectors, high impedance. (TBD)
- Connectors for the injectors, so they can be wired into the MegaSquirt harness. (TBD)
- Fuel pressure regulator with ORB-06 inlets and outlets.
Fittings
Owen provided me with a list of fittings that I could order from JEGS, so I decided to start there.
- One (1) AN-6 to AN-5 Union Reducer (361-991907). This runs from the bottom of the fuel pressure regulator to the existing return hardline.
- Four (4) AN-6 Port to AN-6 Flare (555-100160) . Two of these are used to connect the fuel hoses to the fuel rails, while two others go into the fuel regulator.
- Three (3) AN-6 Straight Thread Plug (555-100352) . Two of these cap the ends of fuel rails rails, while the third caps the fuel gauge take-off.
- One (1) AN-6 Female to AN-6 Female Coupler (361-915106) . This connects the fuel rail 'T' to the fuel pressure regulator.
- One (1) AN-6 to 12mm x 1.5 Adaptor (799-670510 ). This screws into the top of the stock fuel filter so that an AN-6 fuel hose can be connected to it.
- Two (2) AN-6 Male to AN-6 Male with AN-6 Female Swivel "T" (361-925106). These connect the fuel rails to the fuel hoses and pressure regulator.
Fuel Pressure Gauge
While a fuel pressure gauge isn't strictly required, it is useful to have for monitoring system pressures. This gauge is to be mounted in the engine bay itself.
- One (1) 0-100 PSI Fuel Pressure Gauge (555-41023) . JEGS sells a number of different fuel gauges.
- One (1) AN-6 Male to AN-6 Female Adaptor with Pressure Gauge Port (799-670340). The fuel pressure gauge screws into this adaptor.
Hoses
This is enough to make three hoses (two fittings per hose).
- Six (6) AN-6 Straight Hose Ends (555-100001)
- One (1) #6 Pre Cut Braided Stainless Fuel Line, Six (6) Feet (555-100911)
Timeline
This is a crude timeline of events for installing the EFI system. I did a lot of research on this a couple of years ago, so I've omitted that part.
August 2013
- Initial planning and research.
- Order "kit" from Owen on DMCTalk.
September 2013
- Ordered fittings, gauge and hoses from JEGS.
October 2013
- Started DMCTalk thread about the conversion.
- Started disassembling stock fuel system.
- Complication: Oil in the valley under the intake manifold. Later determined to be a hole in the block.
Test Fit
After getting the fuel rails from Owen and the fittings from JEGS, I test fit everything I had based on Owen's diagram, just to see how everything would go together. The fuel lines aren't shown, as I hadn't cut them to length yet, and the fuel pressure regulator is also absent, as I hadn't bought one yet.


K-Jet Disassembly
The first step to installing the EFI system was to remove the old K-Jet components from the engine. This includes:
- Cold Start Valve
- Control Pressure Regulator (AKA Warm Up Regulator)
- Fuel Injectors
- Intake Manifold
- "W" Pipe
- Fuel Mixture Unit
- Fuel Distributor
- Fuel Hoses
- Frequency Valve
- Idle Air Motor
Most of these come off pretty easily. The fuel mixture unit can be a bit tricky because you need to disconnect the rod to the throttle arm. You also have to unmount the throttle spool mount from the intake manifold to remove it. WIth the mixture unit out of the way, the brass pipe to the cold start valve can be removed. Everything else comes apart in a fairly straight-forward manner.
The last time I did work on the engine, I'd used grey silicone sealant to keep the parts nice and snug. Unfortunately, this made it very difficult to break the parts free again. It had to use a prybar to remove the "W" pipe from the intake manifold, while trying not to mar the aluminum too badly. The intake manifold itself was similarly glued down, and wound up requiring a combination prying and hammering on a piece of wood placed against the "horns" to break it free.

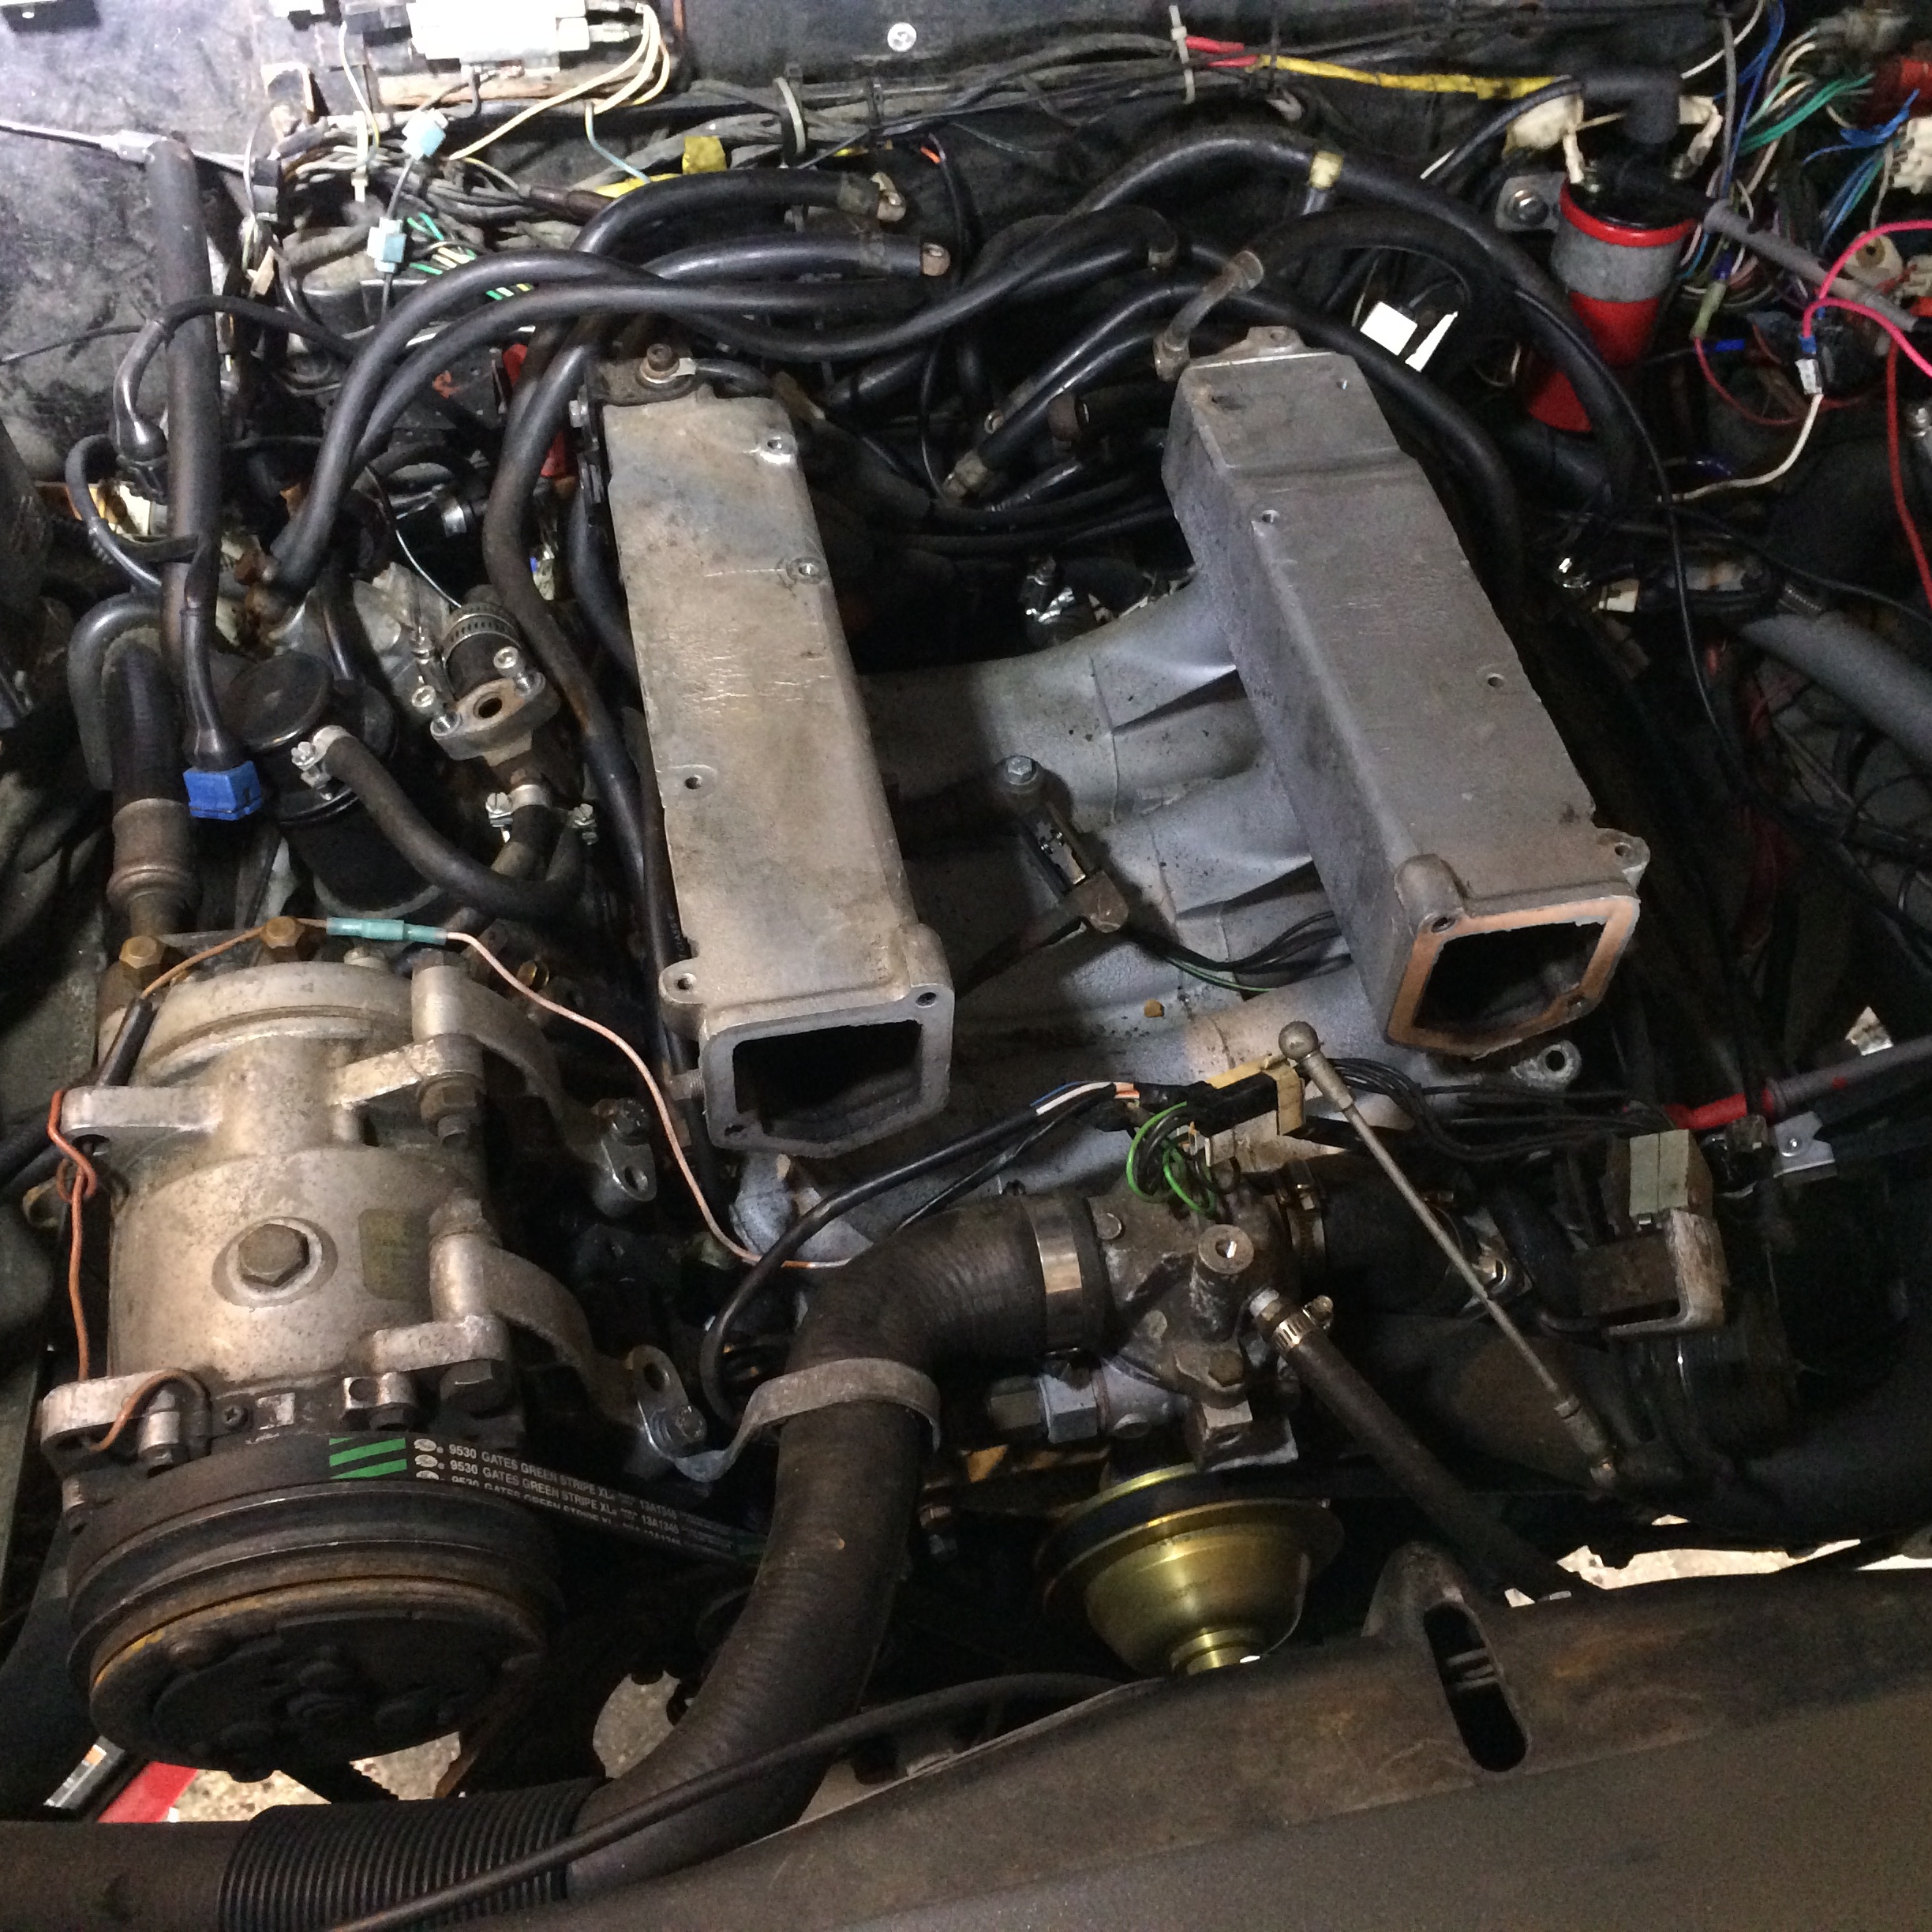


This is as far as I got, as at this point I discovered a hole in the valley. Later disassembly found a two inch chunk of aluminum sitting in the oil pan, and that one of the nuts holding the lower crankcase to the block was loose in the pan as well. Here I decided to shift gears to a 3.0L swap instead.