Fuel Pump/Sender Replacement
Joe Angell
The new fuel pump kit, ready to install
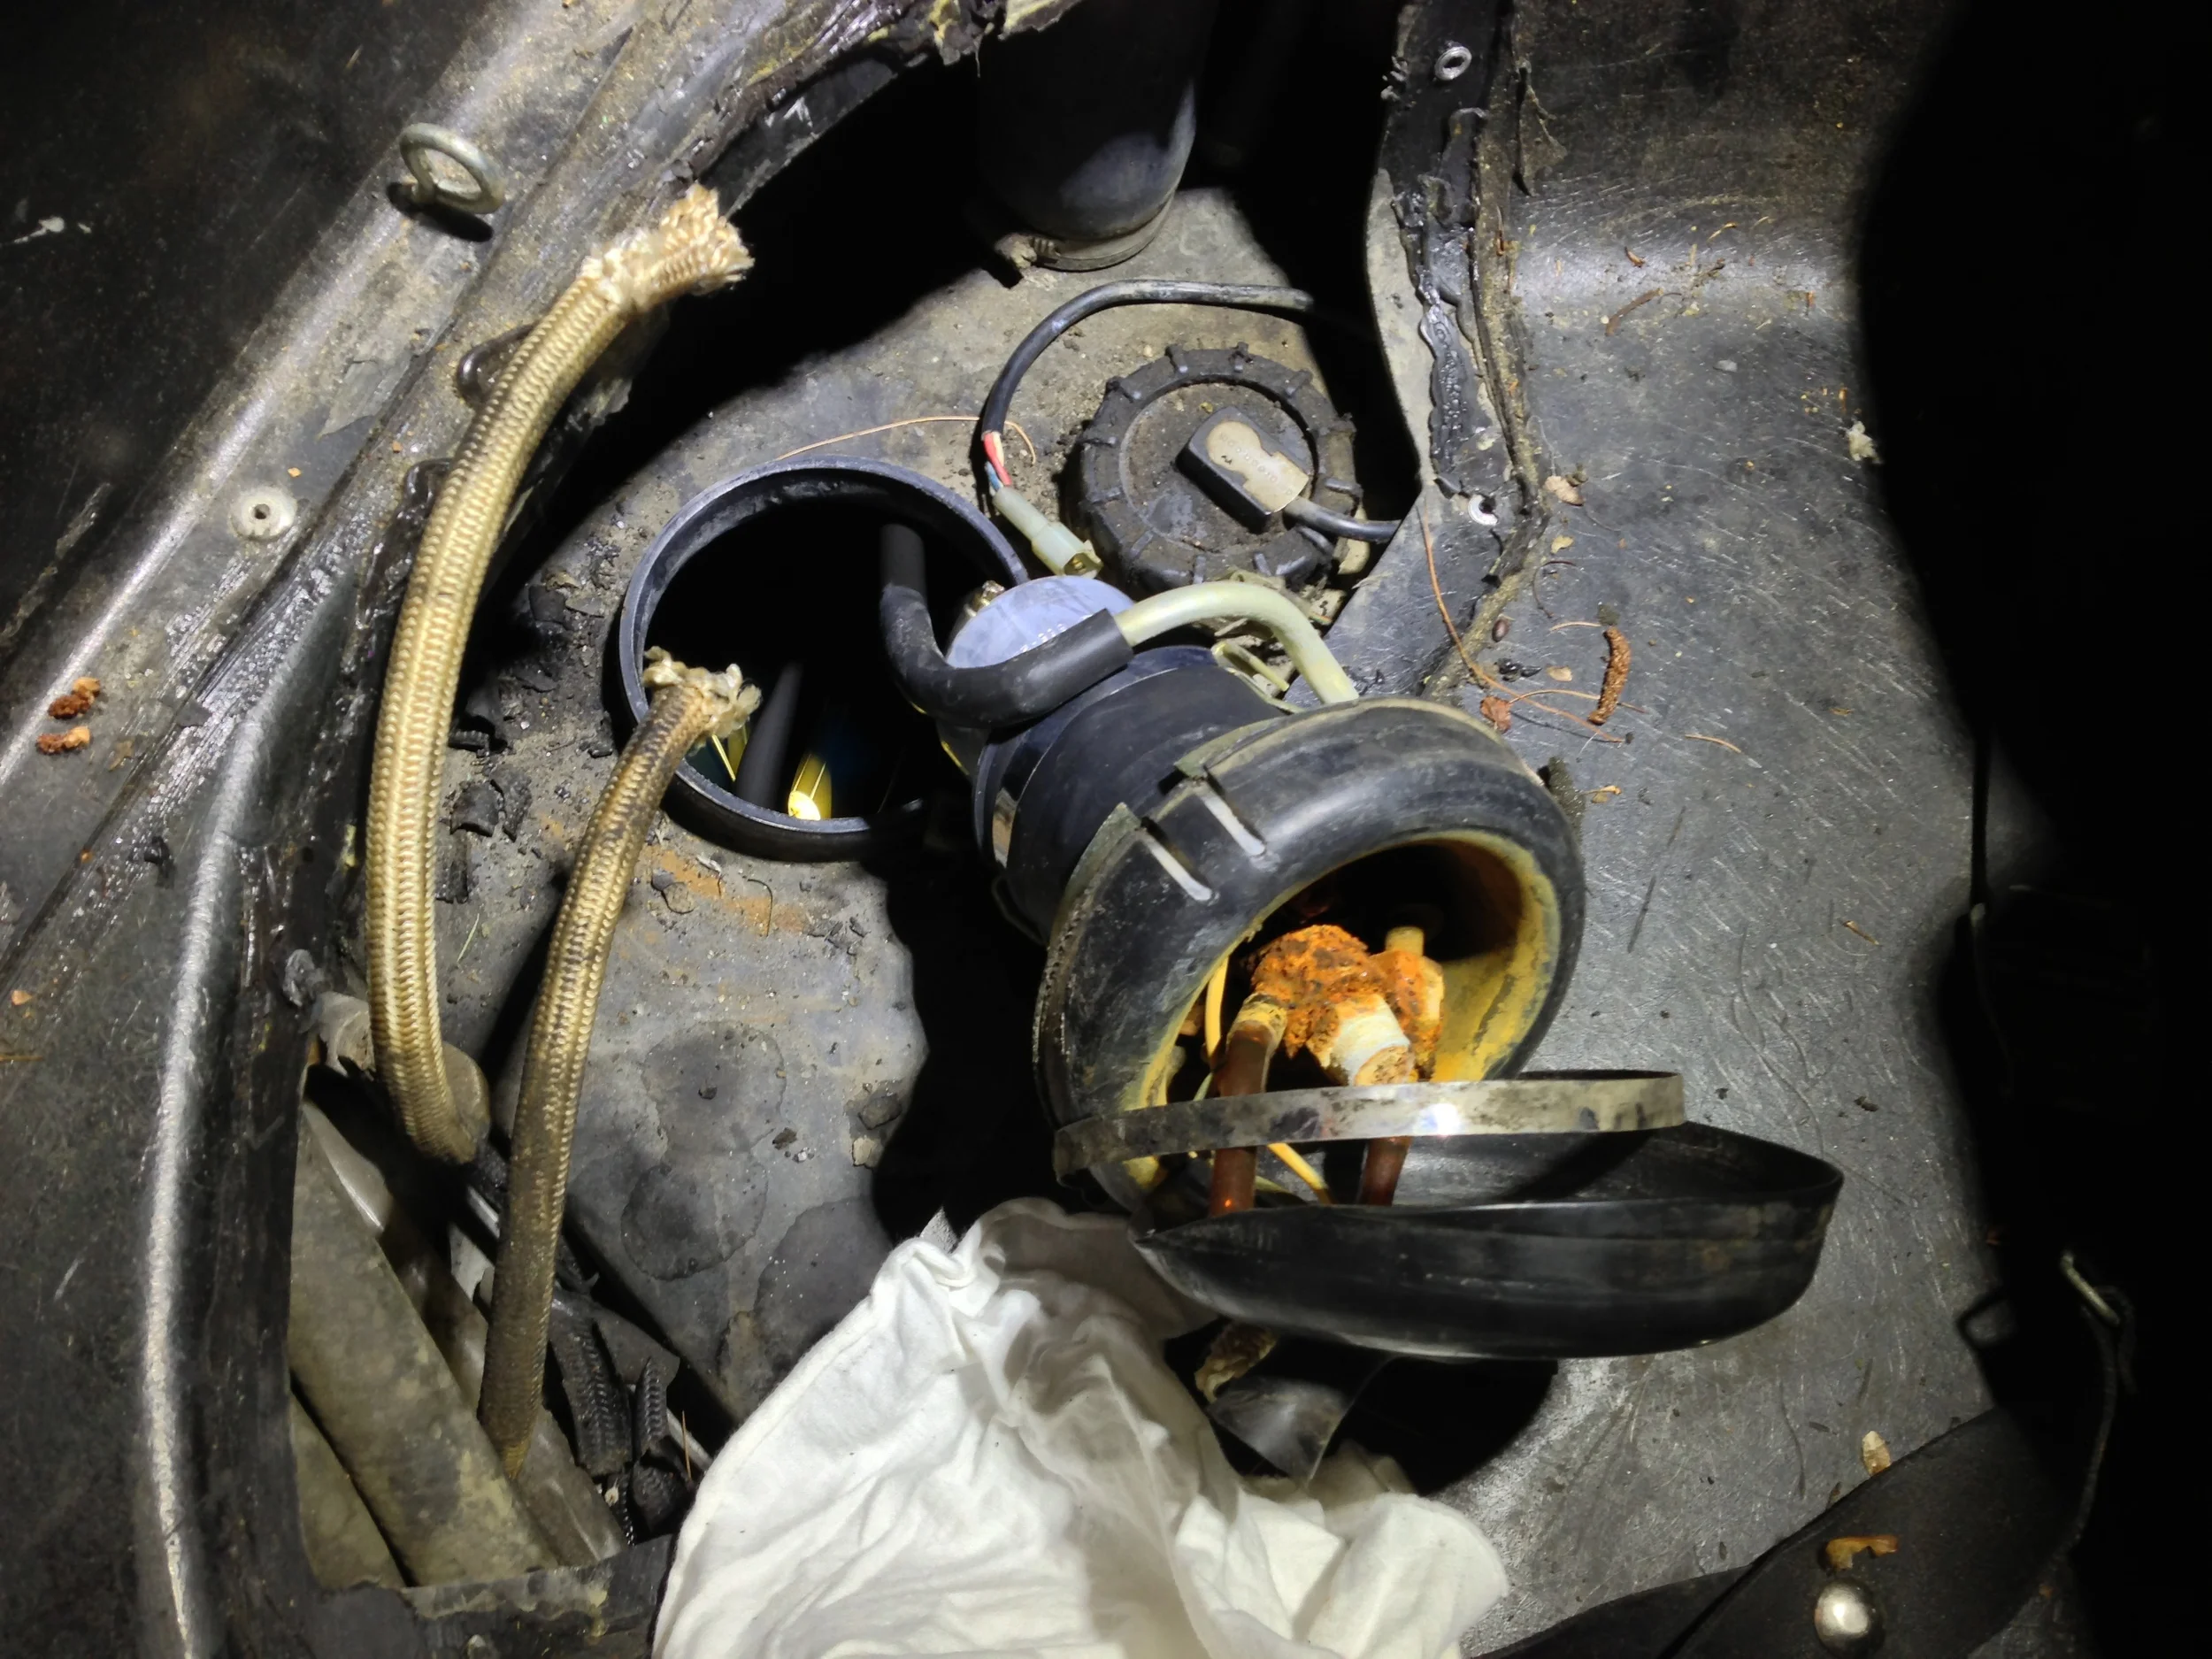
After a hole in the cap covering fuel pump filled the top of it with water and rusted everything within, I decided this would be a good time to upgrade to the Houston's fuel pump/sender combo. The replacement isn't very difficult in principle, but I ran into a couple of issues along the way.
Removing the Old Fuel Pump
The first step is to remove the old fuel pump from the car, as per the instructions available from DeLorean.com. This is pretty straight-forward. When dealing with gasoline, you can wear nitrile gloves to protect your hands.
- Disconnect the battery. You're playing with fuel here, and you don't want sparks.
- Remove the trunk carpet and spare tire.
- Remove the access cover over the fuel pump area in the trunk.
- Carefully cut the fuel lines from the fuel pump, as they will be replaced with new hoses from the kit. The plastic sheathing on mine were quite deteriorated. I cut mine closer to the pump at first, but you'll need to cut them off of the near the fittings on the hard lines on the passenger side of the frame, about two inches from the fittings so as to avoid the barbs. The provided instructions warn against trying to disconnect the hoses with a wrench, as you're likely to simply break the fitting and damage the hard lines. Instead, use a new, sharp razor blade in a utility knife or box cutter to cut the hose a few inches from the fitting, and then slice lengthwise to remove the hose from the barb. With a sharp razor this is rather easy; with a pocket knife, you're not going to manage it without damaging the barbs.
- Remove the large hose clamp from around the pump with a flat head screwdriver or an appropriate socket.
- Disconnect the electrical connection to the pump by squeezing the clip to release it.
- Lift the fuel pump out of the tank. It simple pulls straight out, including the rubber boot.
- Disconnect the fuel lines from the bottom of the pump. Don't worry about damaging them; they aren't going to be used anymore.
- Drain the tank of fuel using a siphon. Details can be found in my prior post, Water In The Fuel System: Clearing Injectors, Testing Spark And Cleaning The Fuel Tank .
- Use a 10mm socket with a long extension to remove the nut holding the yellowed plastic baffle to the bottom of the tank.
- Remove the baffle from the tank. You'll have to squeeze it to fit it through the tank's opening. You'll also be removing some wire supports used to align the hoses and the hoses themselves. At this point the tank will be completely empty.
You don't need any of the old parts -- you can discard them.
Removing the Fuel Sender
The fuel sender comes out easily with an adjustable wrench (aka "groove joint pliers"). Just clamp it onto the ring and turn counter-clockwise, and the sender will pull straight out. If you have a sender with "delorean.com" printed on it, Houston will give you some money for it.
The metal cap in the new kit replaces the old sender. The notch in the cap should be aligned opposite the notch in the tank, not lined up with it, or else you won't have a good seal. The original ring twists back on over the cap, and can be further secured with your pliers.
Cleaning the Tank
The next step is to clean the gas tank. While that is covered in a basic way in the aforementioned prior post, with the baffle out of the way you can now really clean the tank. It's likely that the baffle was catching some of the sludge and debris and now it's all easy to get to.
To clean the tank properly, you'll want to get a can of acetone from your local home improvement store. You'll also want latex gloves when handling it, as it's pretty caustic stuff. It's important to remember that gloves that work well for latex do not work well for gasoline, and visa versa. There's a handy glove selection chart available that shows what kinds of gloves are good for what kinds of chemicals.
I poured a quarter of the gallon can of acetone into the tank, and (while wearing my latex gloves) used shop rags to thoroughly clean out the tank. You can also get a respirator with chemical filters to avoid breathing the acetone fumes, which are pretty bad for you. I made sure to put each used rag out near the garage door in the sun, so that they'd try out as quickly as possible before I threw them out at the end of the day. I used my phone's camera to take flash pictures of the tank so that I could see the areas I missed.
My main problem was that I couldn't fit my whole arm into the tank, and thus I couldn't reach the back of it. I solved this as best I could by balling up rags, then wrapping one more around them and securing the whole thing to the end of a stick. This let me reach further towards the back of the tank, but it was still kind of flailing around. It was the best I could do, though.
After letting the tank dry for a bit, I used my mini shop vac to clean out any loose debris that couldn't be soaked up by the rags. Again, this sort of degraded to flailing the end of the hose around in the tank and confirming my progress with the camera. I got it rather clean, or at least as clean as I could. I did make the mistake of aiming the exhaust of the vacuum at my face, causing me to inhale acetone vapors. After getting some air, I finished with the chemical-filtered respirator I'd brought just in case.
Connecting the Fuel Lines
The next thing I hooked up was the fuel lines. The hose clamps included with the kit are very tight on the hoses, but they do fit. The kit includes two snap fittings that attach to the pump, and which can easily disconnect from the pump by squeezing the clips. This feature is very helpful when fitting the pump. Be aware that the two fittings are different sizes to match the different sized return and feed connections on the pump.
The trick is that the screw on the hose clamp has to be backed way out in order to fit on the hose itself. Worse, the snap fitting's barb causes the hose to expand slightly, making it difficult to get it on the hose. I found it easiest position the hose clamp further down the hose, slide it onto the fitting, and then use grooved joint pliers to get more leverage to slide the hose clamp towards the fitting. I was able to get one of the clamps on very near the fitting, but the other one I couldn't get as close as I would have liked. Still, after tightening the clamp I was unable to pull the fitting off the hose, so I'm pretty sure it's good.
The other end of the hoses slid easily onto the newly exposed barb fittings from the old, cut fuel lines at the end of the hard lines in the trunk, the hose clamps tightened down without any trouble.
Fitting the New Pump
This is where I ran into problems. My early VIN car seems to have a very slightly smaller diameter fuel tank opening than most of the other cars. I couldn't get the pump to fit into the tank with the rubber boot on. The opening the in the tank measured 98mm, while the pump with the rubber boot attached measured 102mm. I actually did try to sand it down a bit both by hand and with a Dremel, but that got old fast. I did think enough to put a garbage bag in the tank first, although I did vacuum out the tank again just to be sure. The stud on the bottom of the tank is offset and does not interfere with the placement of the new pump.
I pulled the rubber boot off completely, and inserted it into the tank opening separately. I then forced the bottom of the pump through, which wound up being rather difficult, and I had to disconnect the top of the pump from the bottom via the metal rod springs to clear the lip of the trunk, and re-assemble it in the tank. In retrospect, I should have just pulled the rubber boot off only the top of the pump, sliding it down to where the metal rods are, and then put the bottom of the pump in the tank, push the boot into the tank opening, and finally fit the top of the pump into the boot. To ensure it was properly seated, I used a block of wood and a hammer to to make sure it was as seated as it would get.
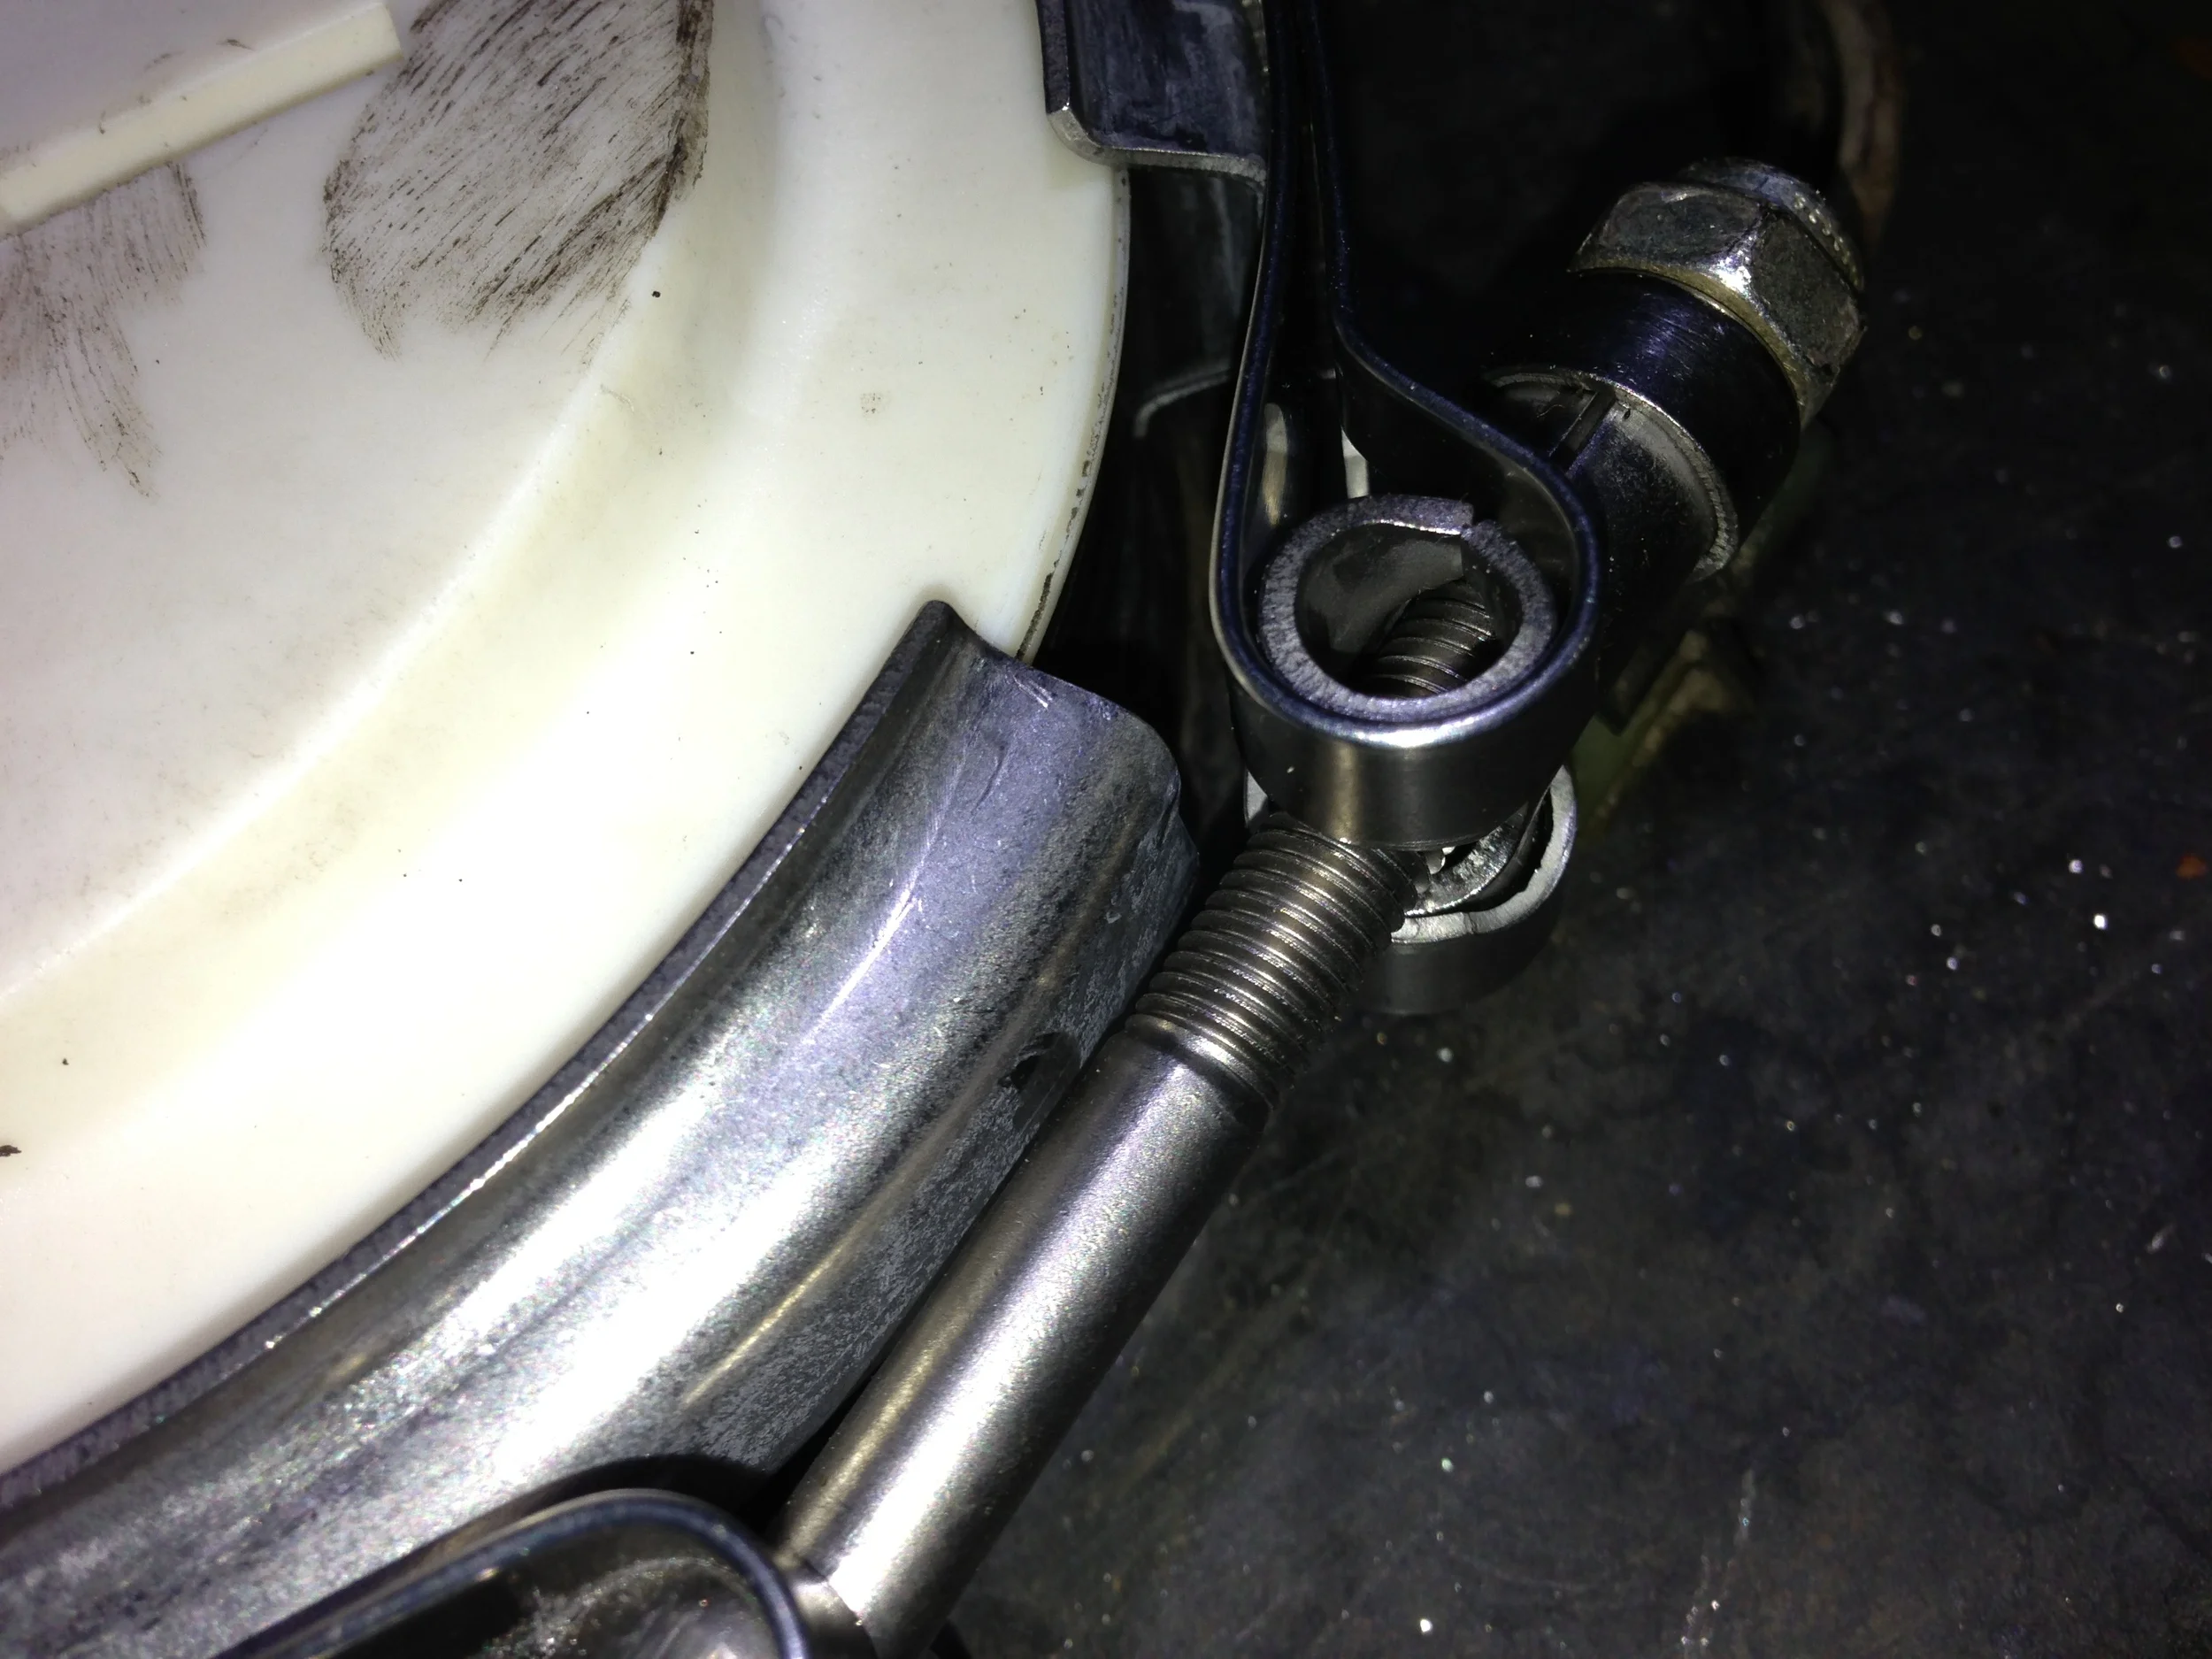
The instructions say to rotate the pump to line it up properly before clamping it down. Mine fit so tightly that rotating it would not be possible after seating it. As such, I made sure to snap the fuel lines onto the pump and that they cleared where the access cover would rest before completely seating the pump, and that the pump was aligned properly with the electrical connector pointing towards the passenger's side of the car as per the instructions so that it would properly fit under the access cover. I also made sure to place the clamp around the top of the pump at this time, as you can't get it on after the pump is seated. It's important to note that the top edge of the clamp sits over the top edge of the plastic pump housing. This isn't necessarily obvious from the instructions, but a recent installation video from DMCTalk by DeloreanJoshQ let me avoid some mistakes that I certainly would have made, otherwise including this one. It also pointed out where water from the windshield dumps right on top of the fuel pump and suggests a deflector to redirect the water away from the pump. I'll be covering my version in a later post.
I spent a bit of time trying to figure out why the pump wasn't sitting as low as it does in the pictures from instructions. After some back and forth on DMCTalk, installing it again and taking some more photos, I realized that there is no problem -- my tank simply has a taller lip than the one in the instructions. Pushing the pump down proved it wouldn't go any further -- it simply flexed the top of the tank. After tightening down the clamp, I could not pull the pump out of the tank -- attempting to do so flexed the tank upwards, proving it was secured.
Electrical
The electronics package is pretty easy to install. It simply zip-ties to the large hose to the driver's side of the fuel pump. There's just enough room to reach some fingers through to pull the ties around the hose and clamp the box to it. The cables from the box easily snap into the connectors for the fuel pump, sender and gauge.
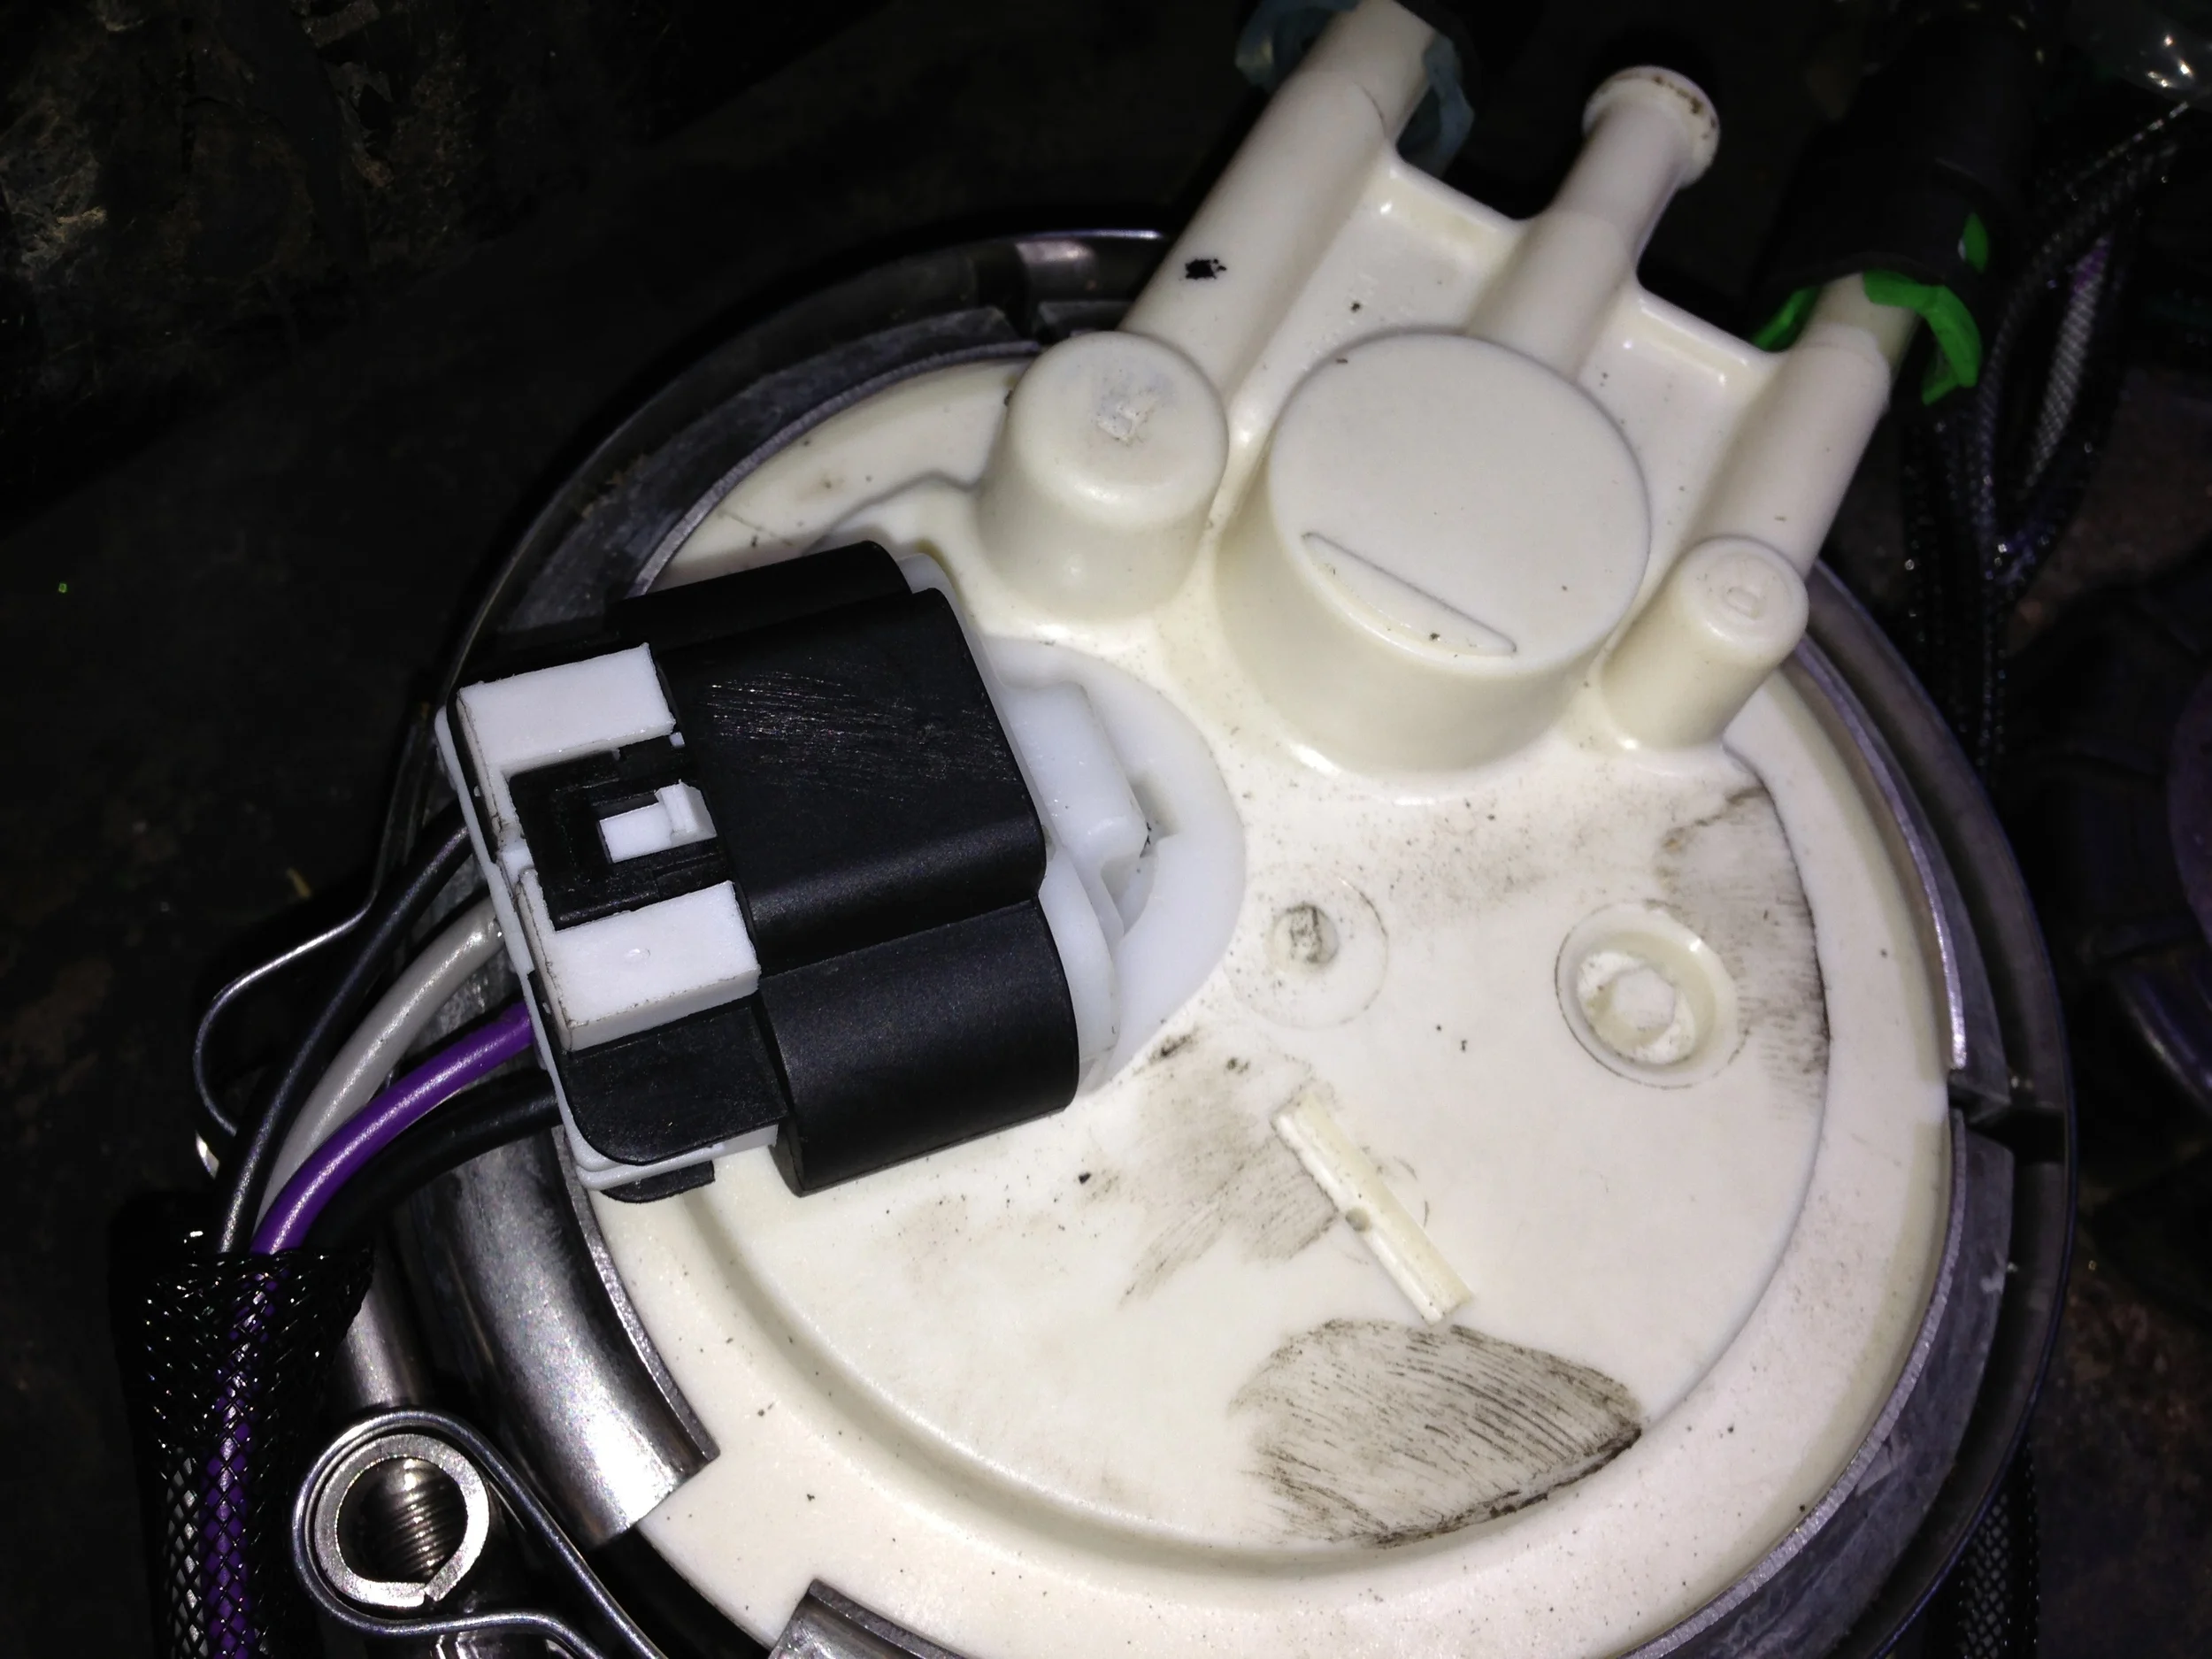
The main problem I had was getting the large connector to securely clip into the fuel pump's socket. It would seat and be electrically operational, but it was trivially simple to disconnect it with a light tug on the wire -- meaning that it almost certainly would have come off while driving. I finally had to use my groove joint pliers to squeeze the connector togethers together until they snapped into place.
I hadn't replaced the fuel filter yet (nor put gas in the tank), but I still wanted to test the electrical parts of the pump. This was a simple matter of connecting the battery and turning the key to "run". The fuel light lit up, and I could hear the pump whir briefly from the RPM relay. The new sender only works when the pump is running, though, so even with fuel in the car I would have had to start it to see the gauge rise. Even so, I did remove the fuel sender cap and prop the the fuel level arm up with a long pry bar; when I turned the key to "run", the RPM relay ran just long enough for the fuel gauge needle to go to about 1/4 full before dropping back to empty. If I jumped the fuel pump I'm sure that it would have gone all the way up to full, but I didn't want to risk damaging the pump by running it without fuel.
Finishing Up
The last thing to do is run the fuel hoses along the edge of the trunk while trying to avoid kinking them. They tuck under the lip of the trunk, and stay out of the way of the access cover. The electronics box also has to be rotated so that it doesn't block the cover. After that, it's just a matter of replacing the access cover.
Next Steps
Next I'm going to build a deflector to keep water from being dumped onto the fuel pump from the windshield, and I have to replace the fuel filter with the new one included in the kit. After that I'll be able to fire it up and make sure everything's working.
Parts and Supplies
- Fuel Pump/Sender Combo.
- Acetone to clean the tank.
- Shop rags to clean the tank.
- Nitrile gloves for handling gasoline.
- Latex gloves for handling acetone.
Tools
- Flathead and philips screwdrivers. A power screwdriver makes things a lot easier.
- Socket set.
- Long socket extension.
- Shop vac to remove loose debris from the tank. I have a mini shop vac that works well for small things like this.
- Adjustable wrench/groove joint pliers to remove the old fuel sender.
- Chemical respirator, if you don't want to breath gas and acetone fumes.
- Siphon to empty the gas tank.
- Gas cans for the fuel from the tank.
- Utility knife with sharp, new razor blades to cut and remove the old fuel lines from the hard lines.


