Removing the Cylinder Heads
Joe Angell
My old odd-fire 2.8L engine had recently refurbished cylinder heads and performance cams, neither of which are useful in the even-fire 3.0L engine. Since the engine block itself has a hole in it, i decide to part out the engine. I don't know if the pistons or rods or anything else in there is worth anything, but the performance cams were $600, and refurbished heads are $1500 each. Mine are so low mileage after refurbishing that I'm hoping I can get a reasonable amount of money for them.
Flipping the Engine Back Over
I had the engine flipped over and resting on the ground so that I could remove the lower crankcase to move it to the 3.0L I had recently purchased. In order to remove the heads, I needed to flip the engine back over again.
I decided that I'd lift it back onto the engine stand, rotate it right-side up on the stand, and then lower it back to the ground. I had lowered it before with from the alternate bracket and an engine mount, but the engine mounts were on the lower crankcase that was now removed from the engine (which was the whole point -- moving the lower crankcase to the 3.0L engine ensured that it would mount properly in the DeLorean). At first I was going to use the alternator bracket and one of the transmission bolts, at least until I realized that I needed all of the transmission bolt hold to attach it to the stand. I decided to use two of the studs that secure the lower crankcase to the engine body.
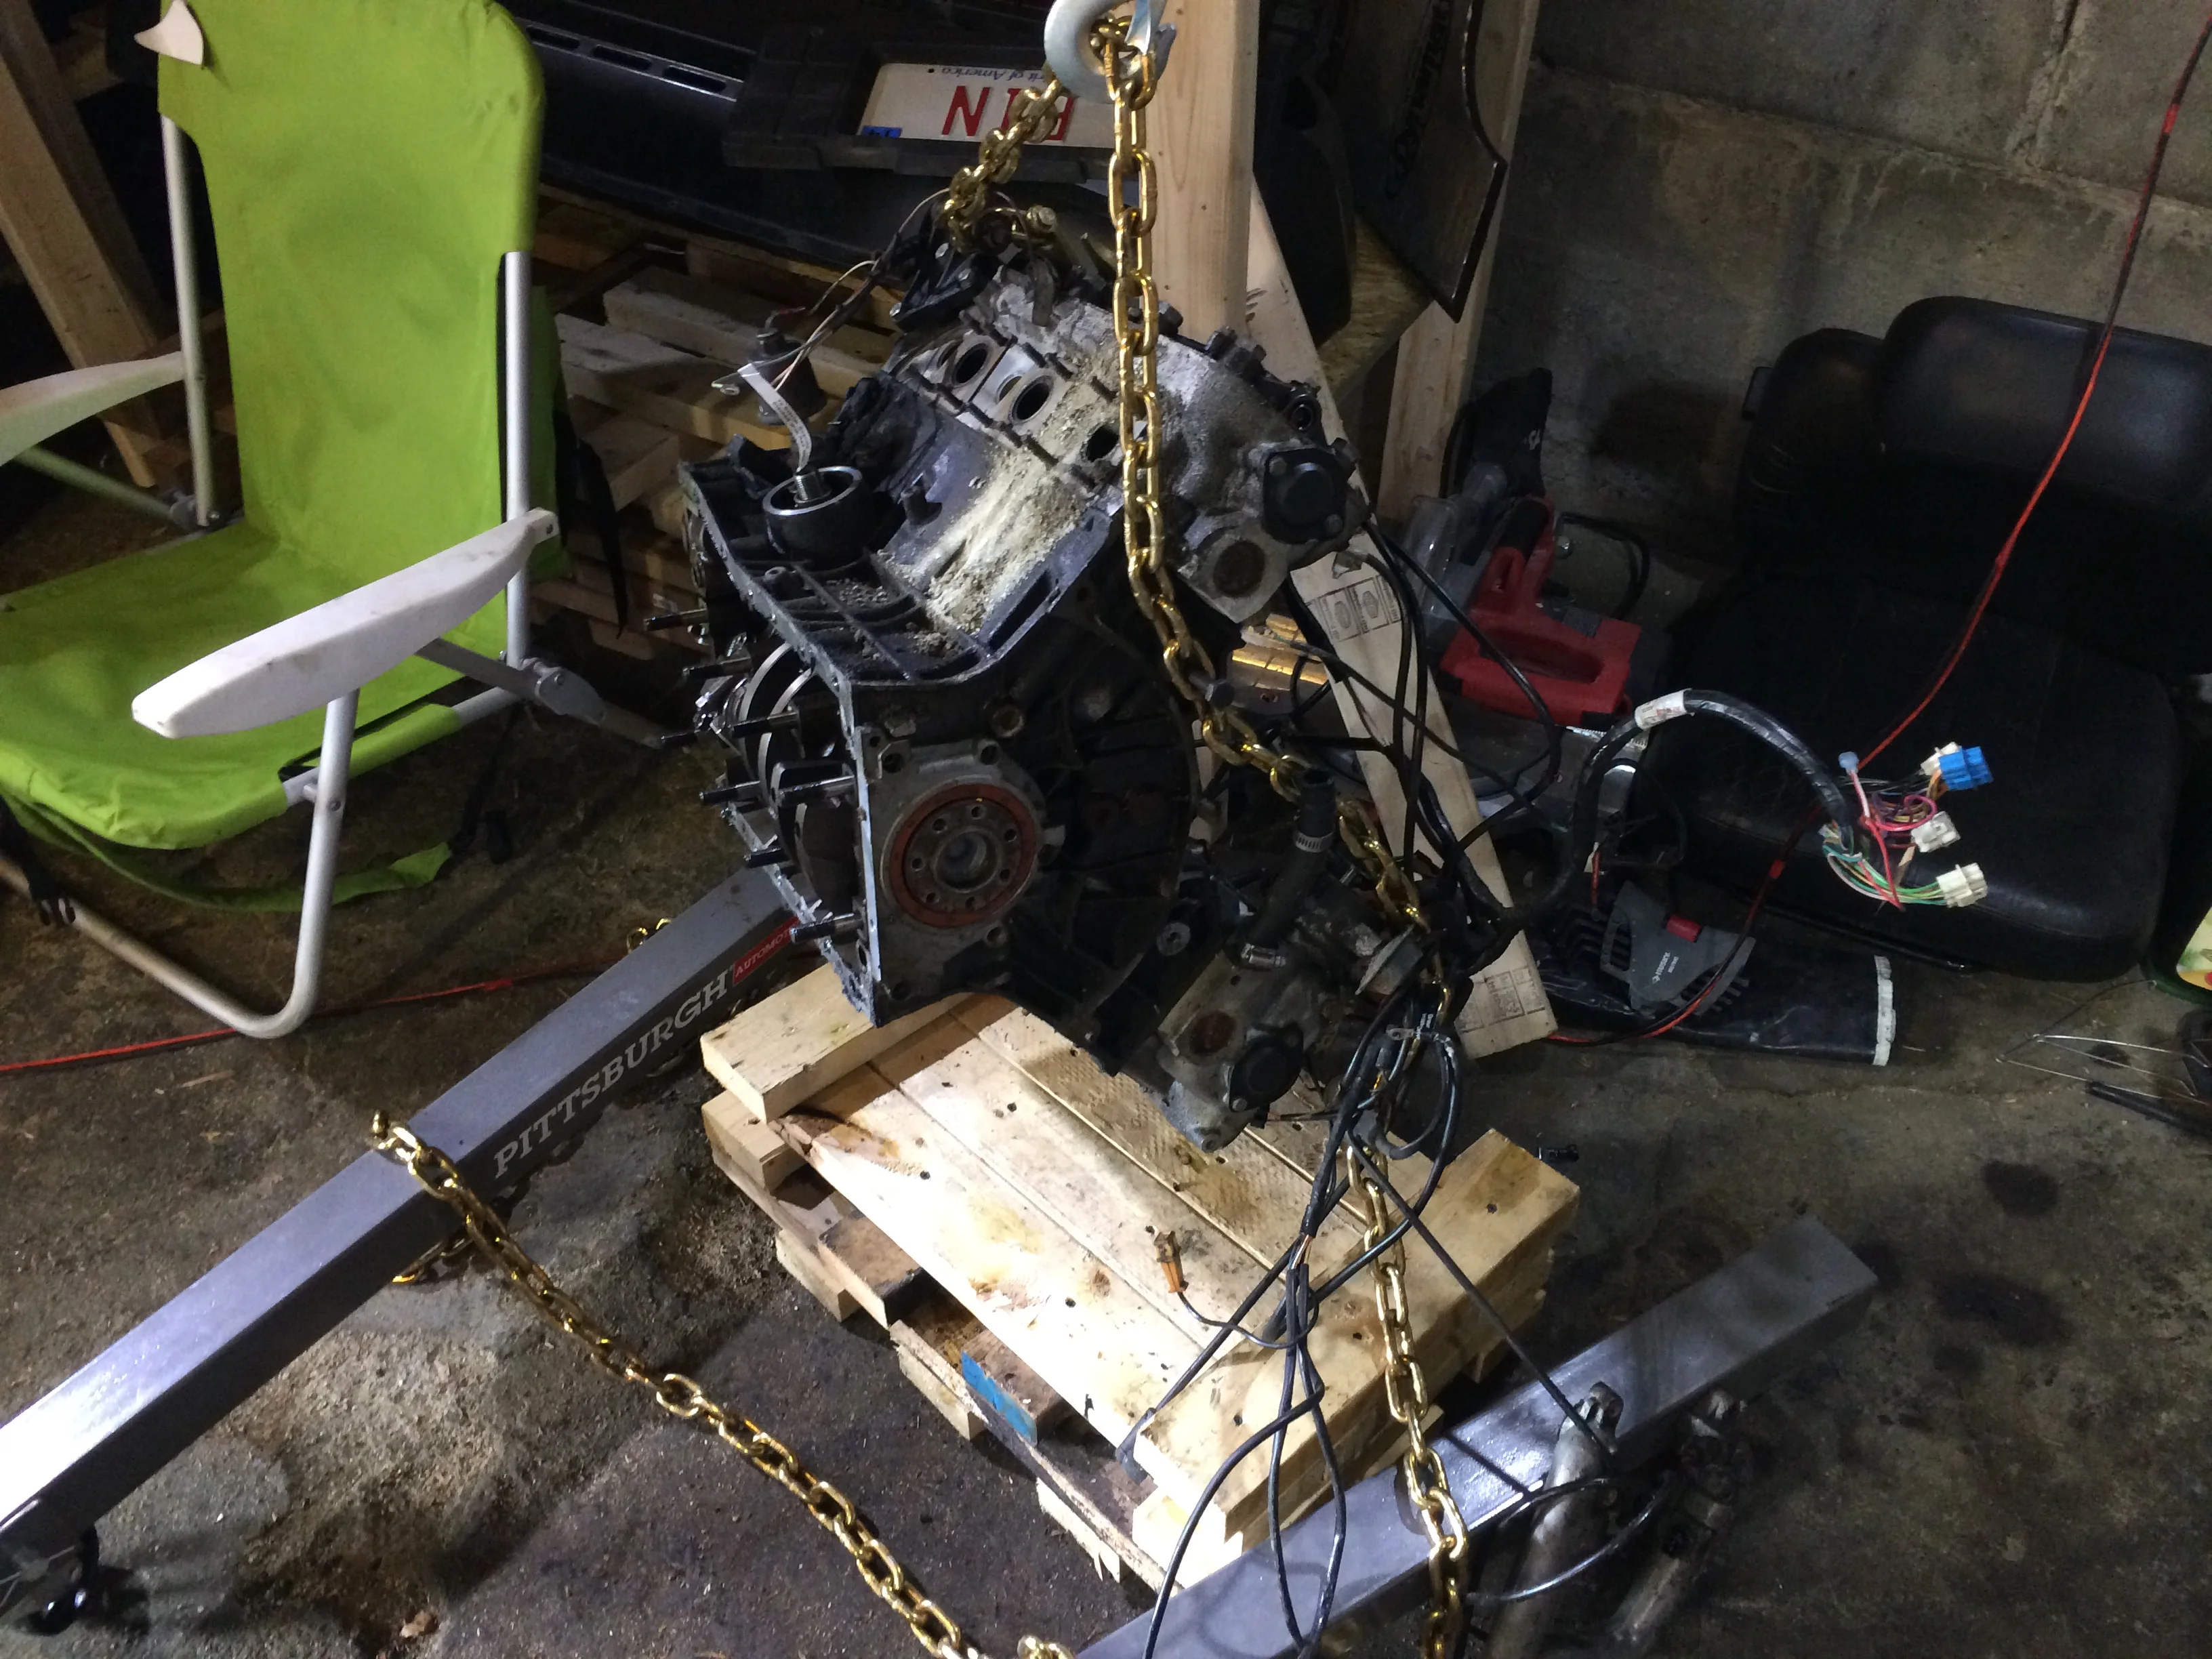
Lifting the upside-down engine from the lower crankcase studs.
Moving the upside-down engine to the engine stand in an attempt to flip it over.
This worked pretty well for lifting the engine, although the studs did flex a bit as the chain pulled. Probably not the best idea to go this route if you don't want to risk damaging them. There was a bigger problem once I got the engine to the stand -- I didn't realize that two of the four transmission mount bolt holes were on the now-removed lower crankcase. I couldn't safely attach the engine to the stand with the two remaining ones.
Instead, I put the engine back on the pallet upside-down, and attached the hoist to the alternator bracket and one of the transmission bolts on the same side, and slowly lifted the engine. With the hoist lifting only from one side, the engine tipped over until it was hanging sideways int he wait. I lowered it carefully so until it was on its side, shifted the chain from the transmission mount bolt to the other one, and raised it again, this causing it to flip over more completely. I was then able to lower it down such that it was standing on the eight studs for the lower crankcase.
Flipping the engine by lifting form one of the transmission mount points and the alternator bracket.
Engine flipped and resting on its lower crankcase studs.
Removing the Timing Sprockets
The timing gears are attached with a 10mm hex wrench. They can be on pretty tight, and will likely turn the engine. To keep the engine still, I tightened the main pulley nut onto the crank with a 35mm socket and wedged the wrench against the ground, using a piece of pipe to lengthen it a bit.
Note that removing the sprockets will later require you to redo the valve timing (meaning, you'll have to set up the timing chains properly again). While there was originally a tool to keep the sprockets held onto the top of the timing cover while removing the heads, this tool is not available any longer. It's not hard to retime the valves, so you shouldn't worry about it.
With the hex screws removed, the timing sprockets can be careful pried off the ends of the cams. It might be easier to loosen the timing chains first, but I it's not strictly necessary. I gently pried with a pry bar, moving the bar to either side of the sprocket to kind of wobble it off until it was free.
Removing the timing sprockets with a 10mm hex key. To keep the engine from turning, a 35mm socket was used to tighten the main pulley nut a bit, and the wrench wedged against the ground.
The timing chain on the sprocket, but with the hex screw removed. The '1' at the top of the sprocket lines up with the yellow mark on the timing chain when the engine is properly timed, The pin below the center hole lines up with a recess in the cams and keeps the sprocket locked with the cams' rotation.
Unbolting the Heads
There are eight (8) very long bolts in each cylinder header. The bolts pass through the rocker arms, through the heads and into the block. The bolts are very tightly torqued into the block, and are quite hard to remove. I used a cheater bar -- a six foot long pipe that I slid over the wrench and a 19mm socket.
I had done this previously when I refurbished the heads a couple years ago. I was warned that it is possible to break the bolts. Of the eight on each head, there is only enough metal on the four on the corners to use a thread insert; if any of the other four need to be drilled out and require an insert, you won't have enough material to do it, and the engine will be ruined.
My six foot cheater bar posed the risk of breaking the bolts, but I didn't see another way to do it. I had no problems -- I broke the bolts free easily enough, although since the engine is sitting on its studs I had to put my foot in the valley to keep it from twisting around.
Once I had the bolts loosened, I used a power drill with a socket adaptor to more quickly remove each of the bolts from the head.
Removing the Heads
The heads are now only held on by the gaskets. Placing a block of wood against the heads and whacking them with a hammer should break them free. You might want to run a head bolt or two back through the heads so that they don't fall on the ground -- they're quite heavy. After a couple of taps, you may want to lightly pry the head to tipping it off the block.
Note that you should not pull the head straight up off the block. This can unseat the head liners, which will require you to disassemble the entire engine to replace them. Instead, tilt the head off the block.
If you need to rotate engine after removing the heads, you'll need to bolt make sure that the liners are anchored. When I needed to do this in the past, I placed very wide washers on the some shorter bolts and tightening them through the head bolt holts against the block. The wide washers overlapped the pictures, thus keeping the liners from moving.
Removing the Rocker Arms
The rocker arms are held onto the heads with the head bolts. They are aligned with pins, and are simply lifted off the heads. One of mine came off very easily, while the other required some gentle prying to release it. The rocker arms are specific to a particular side of the engine, and cannot be installed on the wrong side or in the wrong direction.

Block with the cylinder heads removed. A set of rocker arms is sitting on the pallet to the right of the block.


Removing Exhaust Studs
I had put in the full 24 exhaust studs on my heads, even though you only need 12 (6 per side). I thought I'd remove them before trying to sell the heads.
Since my studs were new, I figured it would be pretty easy to remove them. Some had already twisted out when I removed the exhaust manifolds. For a number of them, I used the trick of tightening two nuts against each other, and then turning the inner nut with a wrench. Since the two nuts are locked against each other, this causes the stud to turn with the nut, pulling it out of the head.
I only had a couple of nuts, and I found that this procedure damaged them ager a few studs. I switched over to some vice grips. While this worked, the teeth on the grips ruined the studs.
After an hour and a half of this, I decided to just include all the studs with heads, include the half dozen or so that I hadn't gotten out yet. None of the studs were broken, so there was no real need to remove them.


